Monday, February 29, 2016

Making My Own Straw


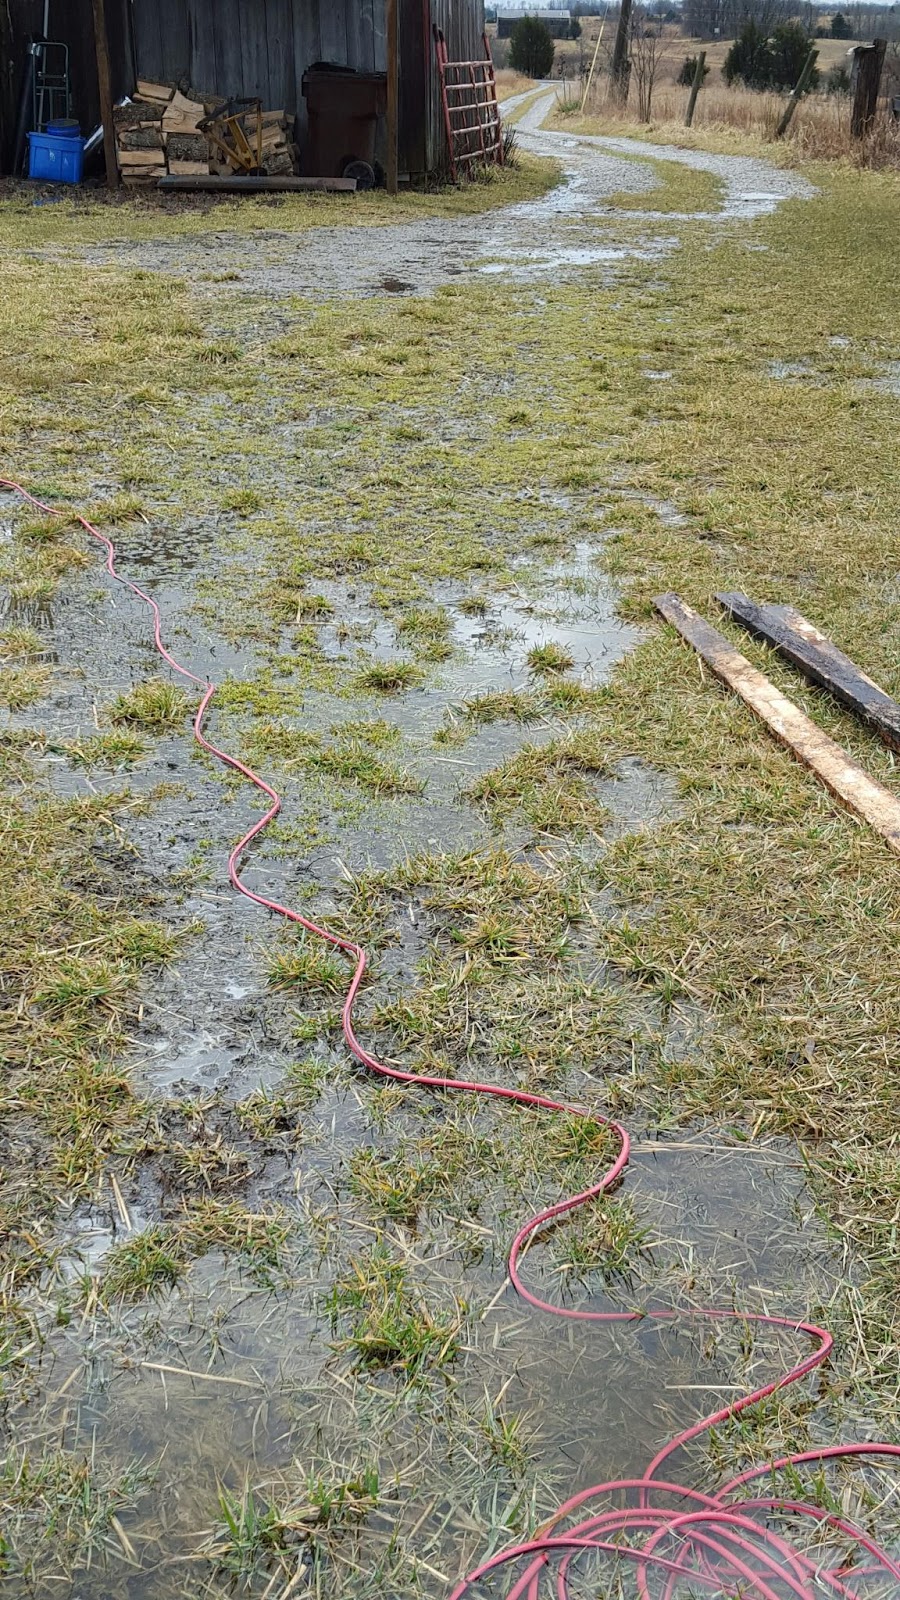
The straw in the bottom of the chicken coop was wet from the rain.  I wouldn't usually worry about this, but since most of the little chicks are still sleeping on floor of the coop, I was glad that I had about a half a bale of straw stored in the dry that I could spread where they sleep.  


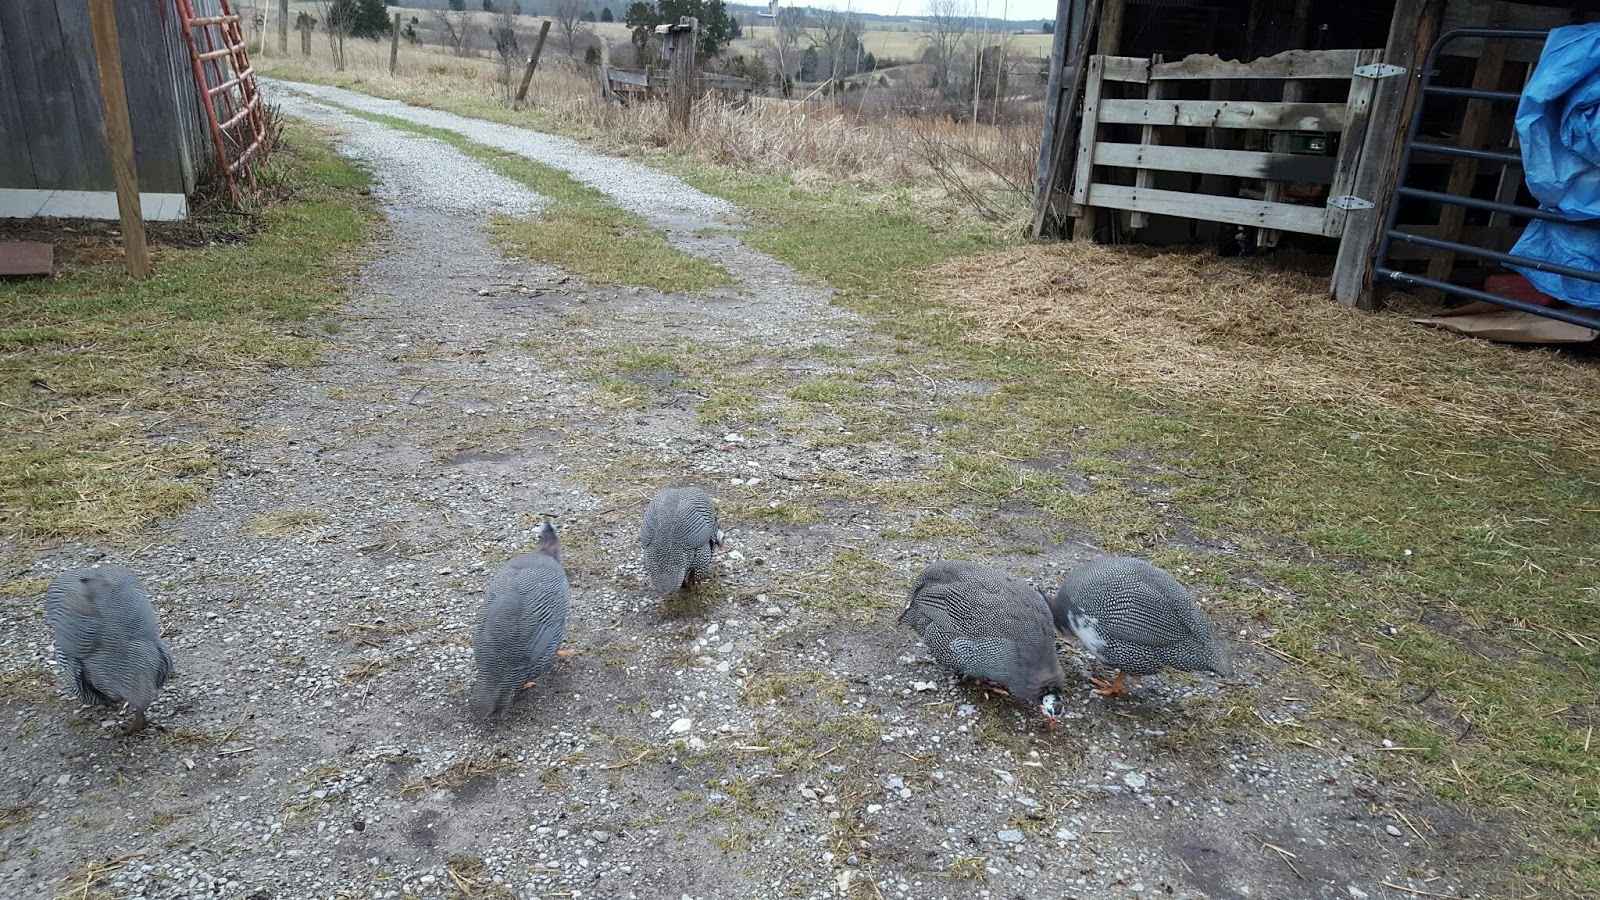
Well, I had some dry straw, but someone with little scratching feet took the time to spread it all around in the shed and outside the shed.  Doh!  Thanks, guys.  It was probably the chickens, but since the guineas were with me when I realized the straw was all spread out and rained on, they got the lecture about waste.  Don't they realize that a bale of straw costs seven dollars!  Straw doesn't just grow on trees, you know...  Wait...


Straw goes on the ground.  I have ground.  I have a handy sickle too.  I can make some straw!


Well, I guess I can't actually make seven dollar a bale wheat straw, like they sell at Lowe's, but I can make cut broom-sedge stalks which are standing in the field nice and dry.  


It took me a few swipes to figure out how to hold the blade so I wasn't in danger of severing my feet.  Once I got in the groove, I figured out to use an upward stroke that would slice the tufts of grass and leave them laying for me to gather up.  A helicopter flew over while I was scything, and I had a few moments of self consciousness about my technique since it seemed to hover over me for longer than I expected.  Since my sickle handle is short, I was bent over swinging my arm and frequently standing to stretch out my back and pile up stalks.  I probably looked like a drunk orangutan swatting at mice from up there.  


It only took about five minutes for scything to start to feel like exercise, so I was thankful that was all the time I needed to harvest a giant arm full of the stalks.  The little chickens were quite pleased with this addition to their coop, and got busy spreading the stalks around with their feet.  


I was glad they didn't have to sleep in a damp bed.  


Guineas stay up later than chickens.  My chickens go to bed well before dark.  I think they like to make sure they get the best spots in the coop, and they like to have plenty of time to get settled into their chosen spot before the guineas come to bed.  


I went out after dark to make sure everyone was settled in, and figured out that the flash on my cell phone camera can illuminate the inside of the coop well enough to take pictures. Look - some of the babies are learning how to roost!  


Most of them were woven together in a pile on the dry stalks.  


While I was out blinding sleepy birds with my flash, I took a picture inside the other coop as well.  The guineas manage to squeeze into place with the chickens.  Once I start opening the door to the new coop so the little chickens can come out to play, I wonder if the big chickens or guineas will decide to sleep in the other coop with the little guys?  

Friday, February 26, 2016

Brandon's Figure Drawings


This semester, Brandon organized a Thursday evening figure drawing session.  It's not a class, so it's open to anyone who wants to come to the drawing room at the University where he teaches and draw a live model.  The artists and art students who attend put five dollars in a jar, which the model gets to keep after posing for two hours.  


After each drawing session, Brandon takes a picture of the drawing he made and texts it to me, so I thought I would share the five drawing that has Brandon made so far.  The drawing at the top of the page is the most recent, and they are shown here in order of newest to oldest.  Even though Brandon hasn't drawn the figure in a formal session like this since he was a student himself, he hasn't forgotten how to wield a stick of charcoal!  I think each one is better than the last.  


When Brandon and I were in college together, one of the professors in the art department hosted a weekly drawing session, and we hardly ever missed it.  To non-artists, or new artists, it can be strange to attend a live drawing session where there's a naked person set up on a small stage under dramatic lighting and surrounded by circle of folks hunched over their drawing horses intensely concentrating.  But once you get over the initial shock of looking at someones body, it's really a very cool experience. 


I always enjoyed studio classes too, but when you are drawing, painting, or sculpting in a class, you get feedback from your teacher and your classmates. One of the things I liked most about the open drawing session was that there's no pressure to meet the parameters of an assignment or incorporate someone else's advise.  It's just people together making drawings.  Quietly practicing, their minds lost in the task or in the music.  


Mom, do you remember that time you encouraged me to show my great uncle my college portfolio?  Ha!  I kept looking at mom with a "are you sure about this look" but she, as a proud mother who is an artist herself, didn't really consider that it would be really awkward to look at a stack of naked lady drawings with him.  So I said, "Okay" and started lay out drawing on the kitchen table.  He looked at about three of them, got a little red in the face, and muttered something about them being really good before slowly backing out of the room.  Poor Uncle!    

Thursday, February 25, 2016

A Conversation with a Fugative Cow


Me: Hello, random cow, loose on the side of the road.  I'm on my way to work.  Shouldn't you be inside a fence? 


Cow: Huh? Are you talking to me?  


Cow: Pstht!

Me: How rude!  


Cow: Do I know you? Why are you staring at me ?  Why don't you take a picture, it'll last longer! 

Me:  Good idea!

Cow: I was being facetious.  


Me:  Shouldn't I herd you somewhere, or fetch your farmer? 

Cow: Lady, I suggest you stay in your car.  In case you can't tell, I'm giving you the wary scary cow eye.  Move on. 

Me: Got it.  If anybody asks, I didn't see anything.  

Wednesday, February 24, 2016

Compost Tour


I've never had enough compost to give a tour of it before.  But in these days of a composting toilet, there's plenty!   Lucky you, right?  


Don't worry, I won't show you anything gross.  I think the key with composting like we are doing, is to make it as invisible as possible.  We've had the composting toilet for four months now, and are still happy with the system.  If you remember, our composting toilet is simple - it's a bucket in a box, and the box has a toilet seat on the lid.  The lid of the box is hinged, so the bucket can be easily lifted out.   Since our bathroom has an exterior door, it's easy to carry the bucket outside.  Wood chips are added to the bucket each time it's used, and the bucket gets emptied every day into one of our big compost bins and then rinsed out.  The big bins are stashed at the back of the back yard, near the tree line.  


The brown bin on the far left is just an upside down plastic trash can with the bottom cut to make a lid/flap.  The black bin is an official composting bin that a friend gave us.  It's a nice one, with air vents, a door on the side, and vented locking lid.  The green one on the right was recently given to us by another friend (apparently we have lots of friends who think they want to compost their kitchen scraps, but don't stick with it) and it's made from a big trash bin provided by the city trash service.  All of these are open on the bottom so the compost has contact with the soil.  I like that they are animal proof, so we don't have to worry about critters or chickens spreading the compost around.    I do think our wood chips would break down faster if they were more exposed to the elements though. 


We've experimented with the type of wood chips to use, and the placement of the bins, and found that even though it's a longer walk to the bins when they are far from the house, we like keeping the compost tucked away where we don't have to walk near it when we are in the backyard.  The only time we ever had a stinky bin was when we dumped a fifty pound bag of moldy chicken feed in the bin.  Pshew!  That was the last time we put the bin close to the house.  


We filled the first bin with wood chips and moldy chicken food (the black bin), but then decided we wanted to move the bin farther from the house.  What to do with the contents of the bin?  We decided to just pick up the bin, let the contents remain on the ground, put a fence around it that was chicken proof, and cover the whole pile with some straw.  Now that these chips are exposed to the rain and sun, I think they will break down faster.  I don't want to try to spread it around my fruit trees or yard until I'm sure there are no bits of toilet paper.  This could take a year or more, I think.  We'll see.  


We've been buying our wood chips from Tractor Supply, which is where we go to get chicken food anyway, and they come in big square bags that hold about five and half cubic feet for around five bucks.  I think we're working on our fourth bag, so it's working out to be one bag per month, and we aren't stingy with the chips.  We tried cedar chips because we thought they might smell nice, but found that we prefer the cheaper pine chips - the fine ones.  The big flaky ones work too, but I think it may take them longer to decompose.  


We don't put kitchen scraps or yard waste in the same compost bins as the wood chips from the toilet.  Right now I'm using the piece of metal barrel that we cut from the top of the rocket mass stove barrel as the kitchen scrap compost.  It's like a buffet for the chickens.  They can get in there a scratch around for tasty bits, but don't spread it around as much as when I just dumped it in a pile.  


The kitchen scrap compost is looking very nice, if I do say so myself!  I think I could lift up the metal barrel, and easily scoop up the compost.  

Finishing the Coop on a Rainy Sunday


How dangerous is this?!  Brandon is standing on a ladder, in the rain, pulling the cord to a stubborn chainsaw.  It's times like this that I mentally revisit my first aid training and start to wonder if I can make a tourniquet from a tool belt strap if I needed to.  Whew, I was glad when he finally got so frustrated with the stupid chainsaw that he declared he was heading to town to buy a hand saw.  Yes, please do.    

Unlike the day before, Sunday's chicken coop work was done in the wet.  It rained enough to fill every puddle and create a sucking quagmire of mud where we were working.  


I stapled chicken wire across the bottom of the coop, and the type of wire with the little holes on the sides.  Since folks on the inter-web said to plug up any hole big enough for a hot dog to fit through, to prevent a weasel, I had plenty of work to keep me busy.  


Once Brandon returned with his new handsaw, which cost twenty-five dollars, he was able to saw the top of the post off in less than a minute!  He spent all morning fussing with the chainsaw, trying to get it to work, and the handsaw did the job in a jiffy.  And, I didn't have to worry that I was going to need to fashion a tourniquet.  Money well spent.  


I like this saw.  It was quite and pretty.  The posts we used are cedar trees stripped of their limbs and bark.  The cut wood smelled wonderful.  


With the posts at the right height, it didn't take long to screw on the metal roof.  


The west wall of the coop is solid, especially since we covered the gaps between the boards, and the tops of the north and south walls are solid.  We used a painting that someone made on wood, that Brandon saved from the dumpster at his university, for one of the sides.  We like to sneak a little art in where we can, although I'm not sure the artist would appreciate the location.  We added one low roost, two roosts up high, some straw, and as a final touch - thirty little chickens!


I think they like it!


The guineas were extra excited about the little chickens, and stayed near the coop until dark.  Despite all the warnings about how noisy guineas are, I hadn't until this day really noticed that they were extra noisy.  But during this project, whenever we made loud noises with the saws, metal roof, and nail gun, the guineas would get excited and make a racket.  For a few moments, I had an intense craving for guinea pot pie.  Weird.  


At night, the little chickens cuddle together in the corner, on the straw.  A few brave ones have figured out how to jump up to the roosts above, so I don't think it will be long before they learn to roost at night.  


There it is, in all it's glory - a chicken coop.  Whoop!   It needs some paint on the raw wood, but otherwise it's fully functional.  I promised Brandon that he wouldn't have to build more than one coop a year.  Last years coop is still working well.  Maybe next year's coop can be for turkeys?!  

Tuesday, February 23, 2016

Building a Coop on a Sunny Saturday


Saturday was a beautiful spring-like day.  The sun was shining, the breeze was warm, the clothes on the line were drying, and Brandon and I were building a chicken coop, which is one of my favorite things to build.  


We started by clearing a spot on the front wall of the corn crib, and scrounging up some materials from around the farm.  We found a couple of sturdy posts that have been waiting in a pile, some old weathered wood slats salvaged from a friends cabin remodel, some pieces of siding left over from a another buddies project, and a couple of doors from my grandpa's long since demolished garage that we've been saving.  And, we found a stack of new lumber, tin roofing, and some wire at Lowe's.  Handy.  Time for lunch!  


Once a pile of wood and the blackberry brambles were cleared from in front of the corn crib, we could see that something has been busy excavating!  I suspect that it's the same ground hog that dug such a big hole in the other barn, that the bush hog caved in the floor.  I admire it's industry, but I still filled the hole back in using the dirt it handily piled by the hole.  


Someone told me that this building was a corn crib.  It has two people-sized doors on one side, each with a door that has a top and bottom.  Way up high, near the roof, are two little doors or windows.  The floor is poured cement, the roof is metal, and the walls are made of wood with fairly large gaps between the boards.  I can imagine that the gaps provided air to the corn, which was poured into the building through one of those little doors at the top.  But I don't know.  We used some of the salvaged wooded slats to cover the gaps in the wall where the chicken coop will be.  The gaps were probably big enough for rodents or weasels to squeeze through.   


We based the coop size on the length of a two by four, so it's roughly seven feet square.  


I'm hopeful that this will be plenty of room for the growing chickens.  The little brooder they've been living in worked really well for keeping them warm during the cold weather while they were small, but once they were bigger and feathered, they didn't have much room to stretch their legs or flap about.  When Brandon and I started building that morning, we were sure we would knock out this simple coop in a single day and the chicks would move in that evening.  


Yeah, right!  We got it all framed up, but stalled out when we couldn't chop a little bit off the top of our posts because the chainsaw wouldn't run.   I hated to break my promise to the little chickens, but they didn't seem to mind one more night in the brooder.  

Friday, February 19, 2016

Don't Worry, I Didn't Burn Down the Barn


The baby chickens that live in the brooder in the barn are six weeks old, and have all their feathers.  It's a good thing, too, because after their heat lamp nearly started a fire, I've been afraid to use it.  Don't worry, I didn't burn down the barn.  Almost, maybe, but I caught it in time.  


I got home from work a little early, and went out to the barn to see if the baby chickens needed fresh water.  I could smell smoke as soon as I walked in the barn.  The heat lamp, which was supposed to be clamped and wired to the lid of the brooder, was laying in the wood chips, and the chips were smoldering!  The little chickens were unconcerned, and some of them were cuddled up with the warm light like it was a hot water bottle.  


Birds aren't known for having tough respiratory systems, so I was very thankful that I hadn't put a lid on the brooder like I was doing when the temps were really low.  Once I unplugged the light and pulled it out of the brooder, I could see the black burnt wood chips with glowing orange embers.  Oh my gosh!  The chickens could have been asphyxiated and the barn could have burned down!  All of our tools would be lost.  And I'm pretty sure that the barn is close enough to the house that it would have melted the siding and the windows of the house.  Or even burned the house down too!  My hands were shaking.  


I didn't realize that the swivel part of the clamp light could come apart.  I guess someone must have decided the light would be a nice warm spot to roost, and they broke the clamp off the light.  Once I got the light out of the brooder, I poured the chicks drinking water on the glowing embers.  Then I had to dig up all the scorched wood chips just to make sure there weren't any left to smoulder into flames.  There's about five inches of bedding and chicken poo in the bottom of the brooder, and the bedding was black and burnt down about two inches.  Whew.   Just thinking about it makes me nervous all over again.  

Related Posts Plugin for WordPress, Blogger...